Açai Bowl

I had never really given açai bowls a fair chance in the past, simply because I thought there was yogurt somehow involved. After reading a fellow blogger’s post about this super food, I was educated and inspired.

I am thankful for this knowledge, because not only are they easy to make, they are healthy and delicious!

For this post I stripped down the recipe to the bare essentials, but as I did my research I have learned that there is basically no wrong way to make an açai bowl.
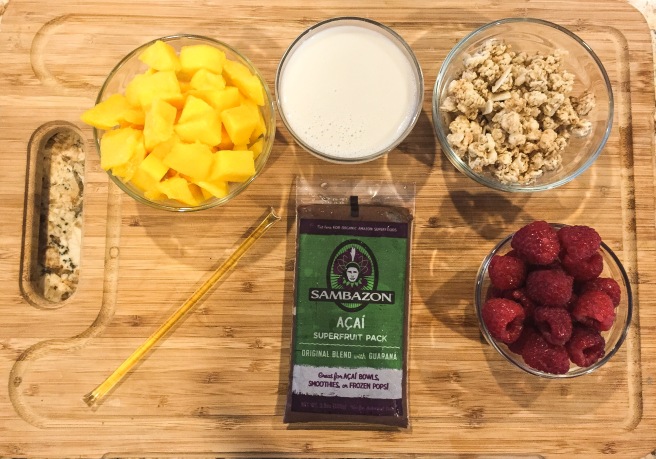
Here is everything a used. The honey stick is alsp optional it just get drizzled on top, and it can be swapped for aguve nectar.
Here is everything a used. The honey stick is also optional it just get drizzled on top, and it can be swapped for agave nectar.

What you’ll need:

  • One frozen açai smoothie packet. You won’t be able to pick this up at any grocery store. I got mine at Sprouts, but typically any health food store should have them.
  • ½ cup of almond milk. This can be substituted with soy milk, hemp milk, rice milk, etc. Sometimes people even use apple juice, however, that will increase the sugar content.
    • I didn’t do this, but if you like bananas you can blend in a banana to the mixture.
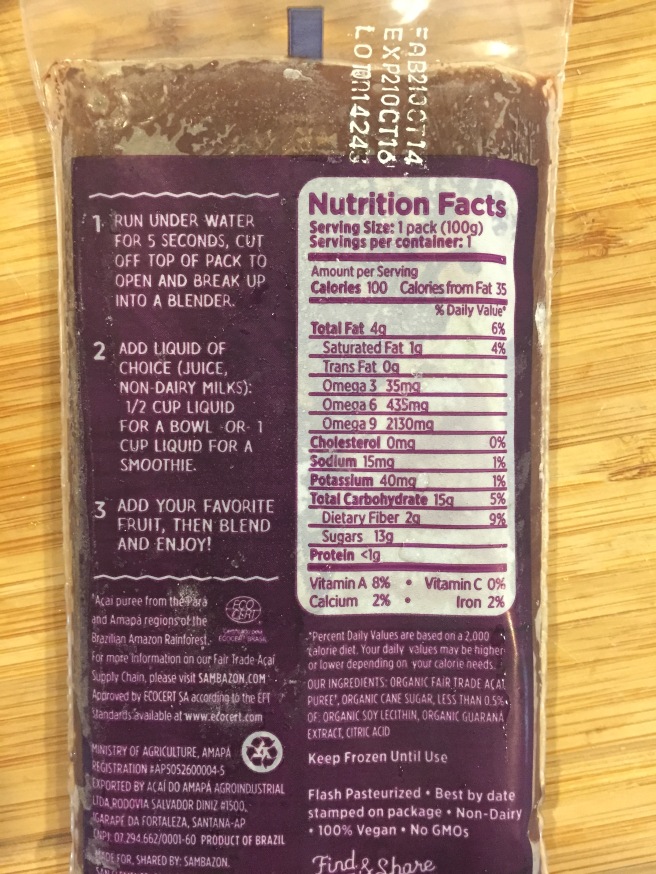
Here is the back of the packet.

As the instructions say, you run the smoothie packet under the warm water for 5 seconds before blending. That is all the thawing that is needed because you want the bowl to maintain a thick consistency. Add the pack, milk, and optional banana in to the blender, and it shouldn’t take more than 30 seconds for the mixture to be done. (The banana may need a little longer.)

Toppings: If you have read any of my earlier posts, I am sure you can tell that I am an advocate of freedom of expression, so I encourage you to try your favorite toppings—not mine! This may be frustrating to people who need structure, but if you hate mangos why would you want them on your açai bowl? I will say people typically put granola and a few types of fruit.
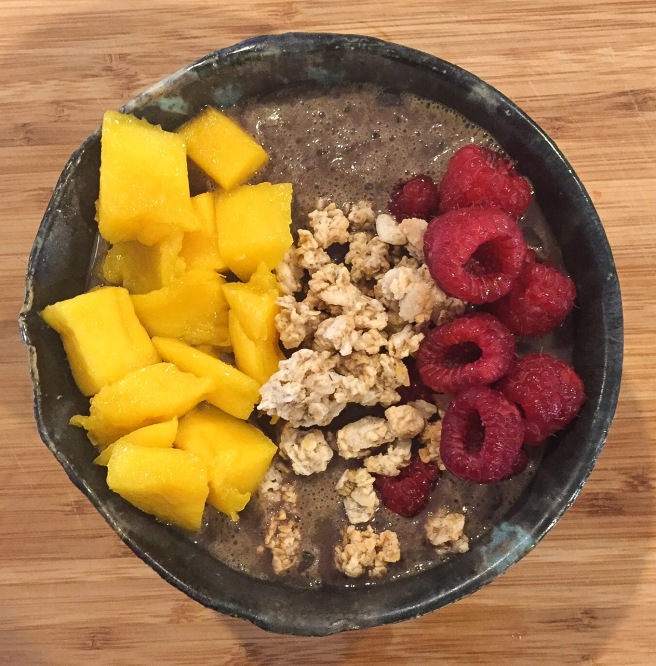
Here is my bowl! The reason it is not as vibrant as other bowls you may have seen is because of the almond milk. Using apple juice will allow it to maintain the bright purple color.
Here is my bowl! The reason it is not as vibrant as other bowls you may have seen is because of the almond milk. Using apple juice will allow it to maintain the bright purple color. All photos taken by me!

Once you try making a basic açai bowl, it may be fun to try a more complicated recipe here is a link with a few ideas that sound really good!

Enjoy!

Floral Design 101

My friends and family know that I love flowers. As of last year, I’m certified in floral design. I wanted to share some tips that I have learned throughout my classes.

allflowers
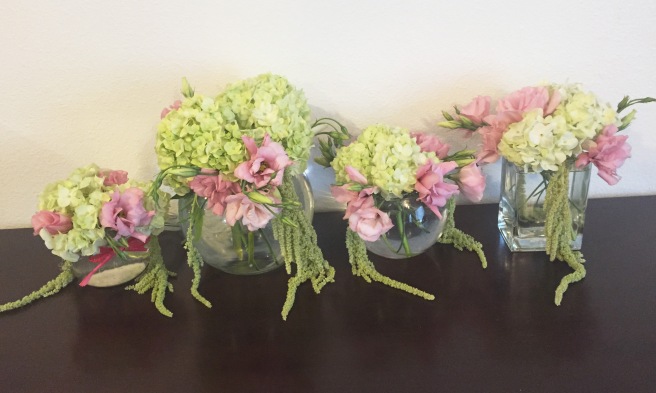
Beautiful finished product.
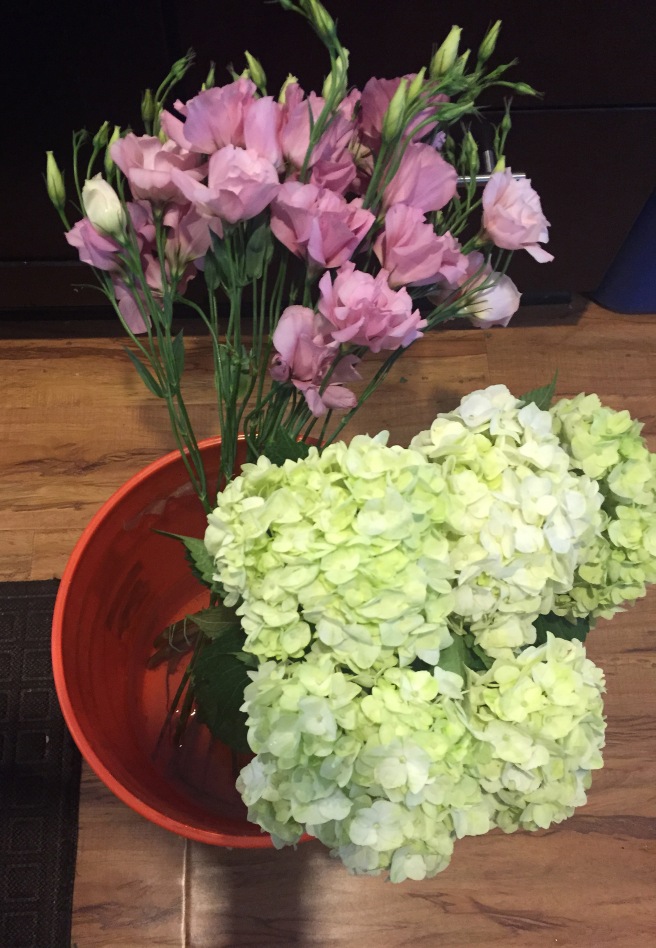
  1. Keep the flowers in water as you are working.

    The flowers will suck up air when they are out of water. This will create an air bubble in the stem, that will cause the flower to wilt.
    The flowers will suck up air when they are out of water. This will create an air bubble in the stem that will cause the flower to wilt.
  2. Keep everything clean.

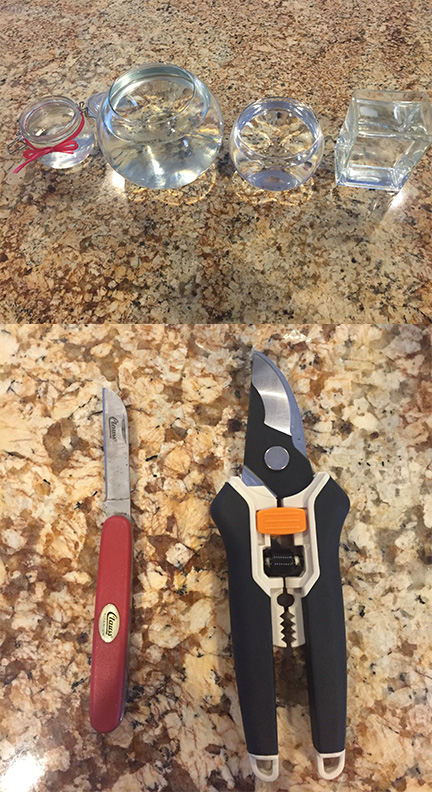
    Clean your tools with alcohol before you begin. Make sure the containers are clean because any bacteria will cause the flowers to die faster. I suggest rinsing the containers out with a small amount of bleach before filling them.
    Clean your tools with alcohol before you begin. Make sure the containers are clean because any bacteria will cause the flowers to fade faster. I suggest rinsing the containers out with a small amount of bleach before filling them with water.
  3. Process all flowers before starting to arrange.

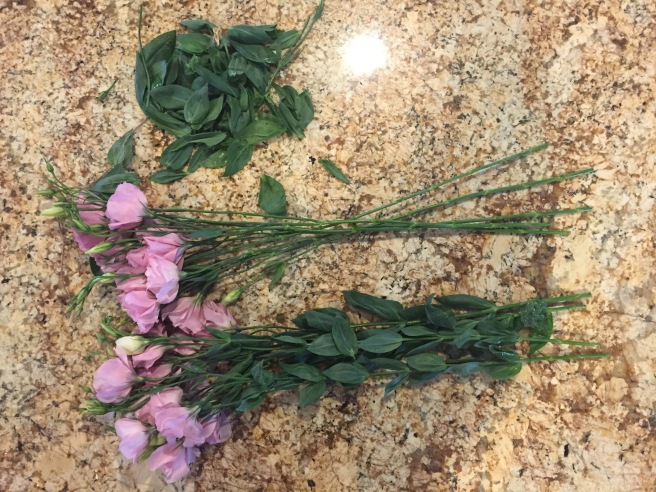
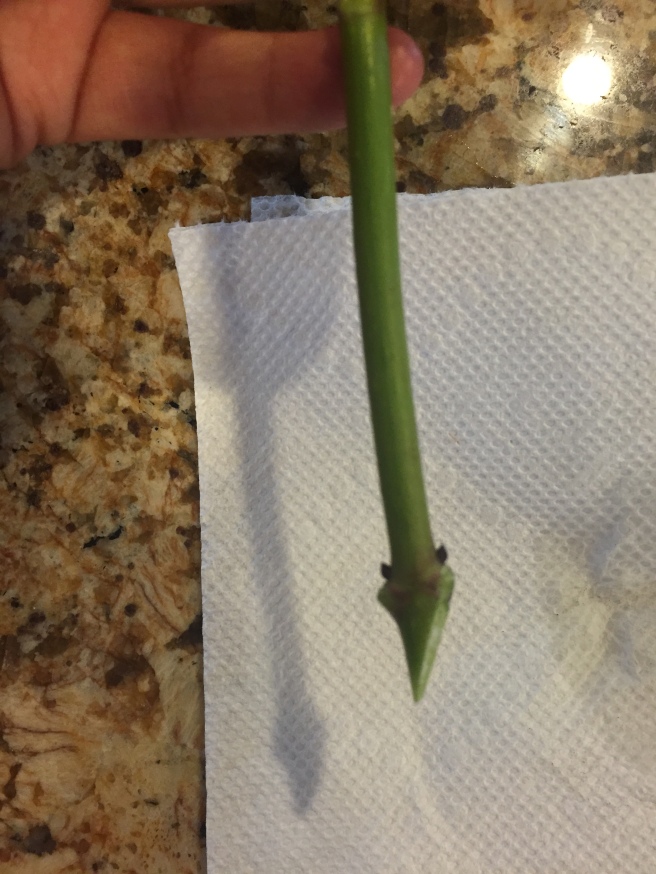
    Processing consist of taking any leaves of thorns off the stems. It is okay to leave a few leaves close to the top on the flowers, but anything besides that will just take water away from the flowers.
    Processing consists of taking any leaves or thorns off the stems. It is okay to leave a few leaves close to the top of the stem, but anything besides that will just take water away from the flowers.
  4. Cut the flowers at a sharp angle.

    Since the flowers come with very long stems you will almost certainly cut off any air bubbles that may have formed. The flower needs a nice shape cut to help it drink the water.
    Since the flowers come with very long stems you will almost certainly cut off any air bubbles that may have formed. The flower needs a nice shape cut to help it drink the water. Floral knifes work best, but pruning sheers are okay if you just arrange on special occasions. Scissors tend to smash the stems and make it difficult for the flowers to drink.
  5. Place the money flowers first.

    Always start with the most important flowers. Flowers are not cheap or expensive, some are just more
    Always start with the most important flowers. Flowers are not cheap or expensive, some are just more “prestigious” than others.
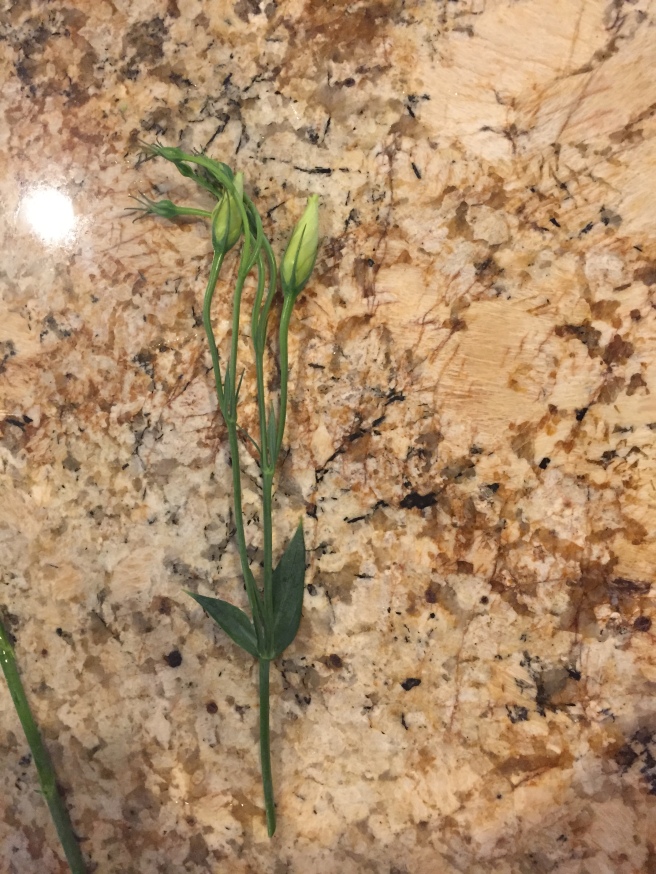
  6. Leave the buds on the stem.

    The buds tell the complete story of the flower. Plus, sometimes they bloom a few days later.
    The buds tell the complete story of the flower. Plus, sometimes they bloom a few days later.
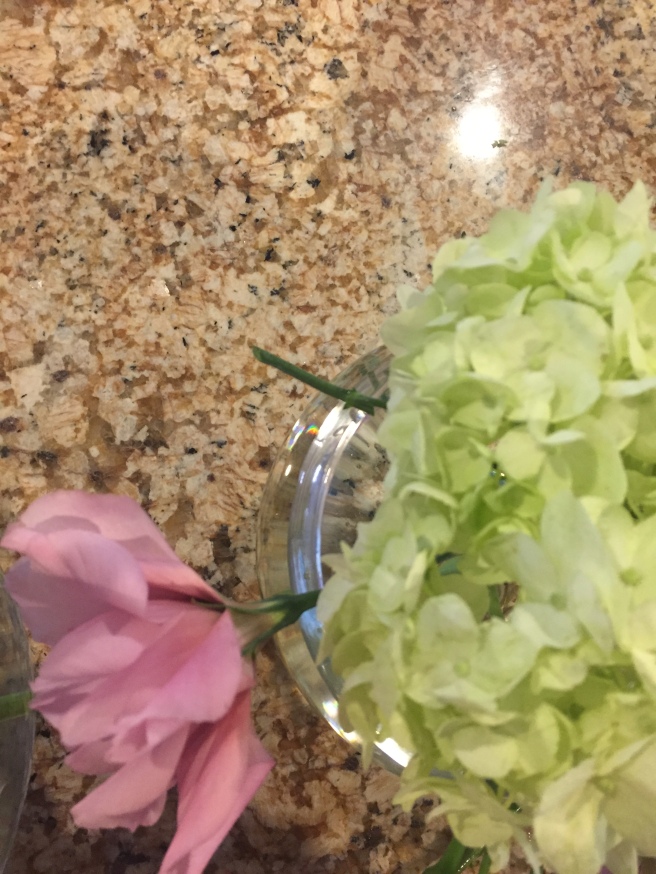
  7. Make sure every stem is in water.

    Be very careful. It is easy to make this mistake, and these flowers will fade rapidly.
    Be very careful. It is easy to make this mistake, and these flowers will fade rapidly.
  8. Refill water/Spray flowers daily.

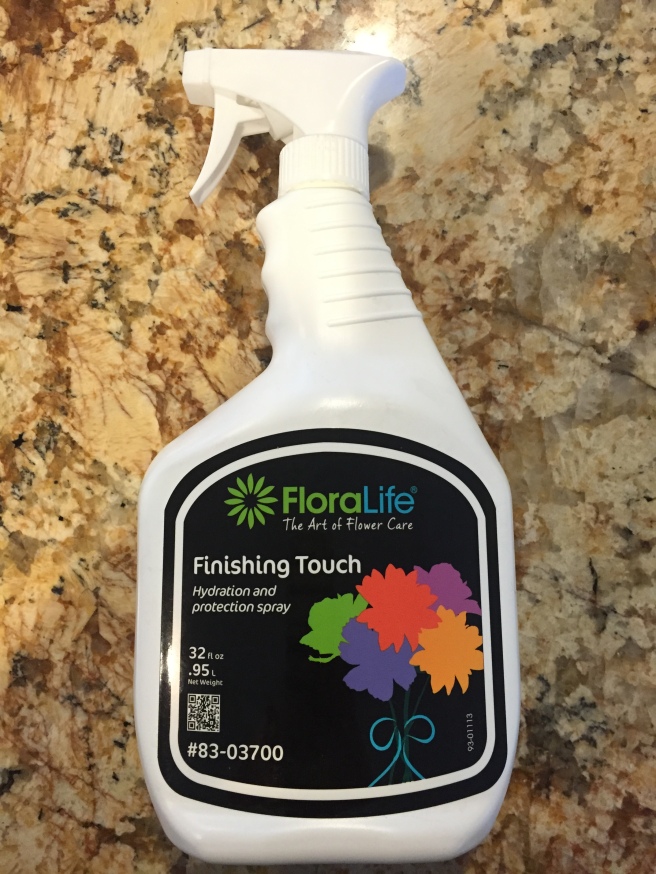
    If you really want to ensure the longevity of your flowers, I highly recommend this product. It is used after the arrangement is complete. However, it is just as important to spray the flowers daily as it is to make sure the water is full. Flowers drink just as most from the top as they do from the bottom. After a few days it is a good idea to change the water as it starts to get cloudy.
    If you really want to ensure the longevity of your flowers, I highly recommend this product. It is used after the arrangement is complete. However, it is just as important to spray the flowers daily as it is to make sure the water is full. Flowers drink just as much from the top as they do from the bottom. After a few days it is a good idea to change the water as it starts to get cloudy.
  9. It’s okay if you don’t use everything.

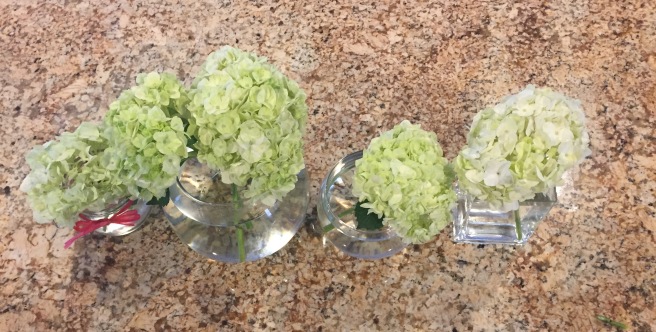
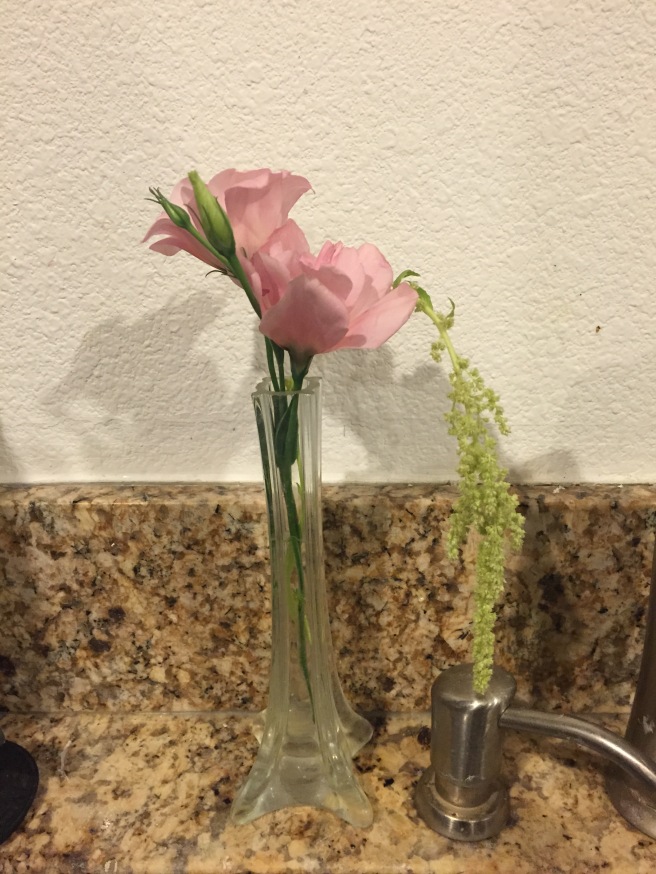
    It's more important for your arrangement to look nice, than to use every last flower. With left overs make small srangments to go in bathrooms or by the kitchen sink.
    It’s more important for your arrangement to look nice, than to use every last flower. With any left overs make small arrangements to go in bathrooms or by the kitchen sink. All photos taken be me!

If you have any specific questions, don’t hesitate to ask! For inspiration on how to design an arrangement, look at teleflora to get some great ideas!

Good luck!

DIY Flower Letters

Break out the glue gun! I recently completed a fun craft that I found on Pinterest. Recreating something from Pinterest can be hard, and not everyone can be successful. Thankfully, in my humble opinion, I think I succeeded, and I am the best person I know at giving humble opinions.

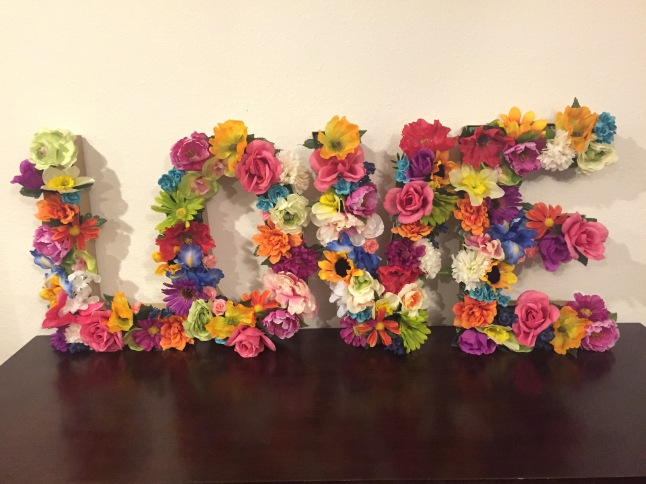
Here is the finished product!

I think the hardest part of crafting is the shopping. I ended up making four or five trips for this craft, but hopefully my experience will aid anyone who attempts this in the future.

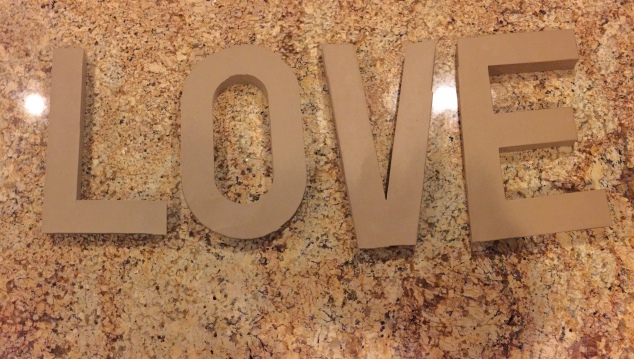
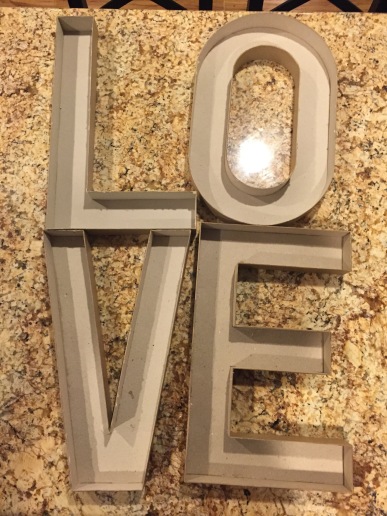
Here is a shot of the letters before I ripped them open.

The first items needed are the cardboard letters. The first letters I bought were from Michael’s, but they ended up being too small. The flowers would have ended up overpowering the outline of the letters, making them illegible. I found bigger letters at Hobby Lobby that are ~16 inches tall and three inches wide. The smaller letters could work if the flowers are also small. As people may have gathered, I am all about individuality, so don’t limit the word to “love” (in fact it wasn’t even my first choice). Consider couples’ initials, a name, or any other vague word. One day many years from now I would love to do this in a little girl’s room.

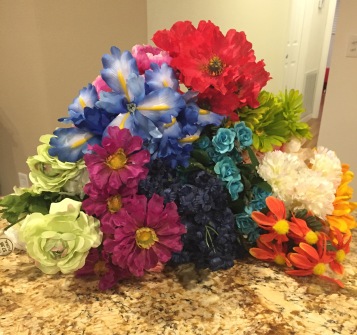
The beautiful flowers I used.

Next up, my favorite part of the craft—the flowers! I would highly recommend putting a lot of thought into the color choices of the flowers. Unfortunately, I am not thrilled with mine. I think the final product looks great, but the colors seem a little juvenile. I don’t think I’ll be able to find a place in my home where it will fit. I wish I had chosen muted, creamier colors instead of these super bright, vibrant colors. Even a monochromatic color scheme would be pretty! Each letter needs about 25-30 flowers. I ended up with extras because I wanted the diversity in my flowers. So in true Adriana fashion, I went a little overboard. My last tip is to make sure and buy smaller flowers that can fill holes easily.
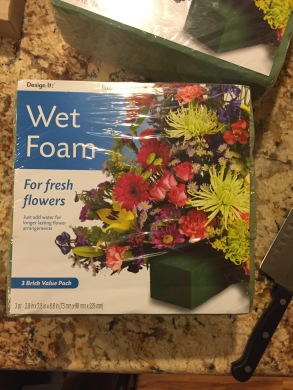
Do not follow the instruction on the package! The foam dose not need to be soaked in water, we want dry wet foam!

.

.

The final item needed is floral foam. I decided to go with wet floral foam simply because I already had some in my shed from other floral arrangement projects. It is easier to cut and work with than foam made for decorative flowers, which is essentially green Styrofoam. Either will work; however since I used wet foam I decided to hot glue the tips before sticking them in. Just in case!!

.

.

Directions

  1. Cut the top of the cardboard letter off. I found that once I cut one piece off, the top layer pretty much just peeled off.

    This step is easier than it sounds.
    This step is easier than it sounds.
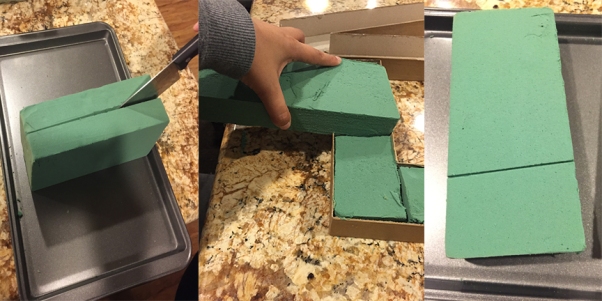
  2. Cut the foam to fit inside of the letters. I first cut the block of foam in half long ways (or hotdog style depending on your kindergarten teacher).

    Cut the foam in half. If you need a guide press the foam down on the letter and this will provide a line to guide you. I would advise to cut the foam a tad bit smaller than the guide, so the foam is not too snug. This was especially helpful on the
    Cut the foam in half. If you need a guide press the foam down on the letter and this will provide a line to guide you. I would advise to cut the foam a tad bit smaller than the guide, so the foam is not too snug. This was especially helpful on the “O”
  3. Glue the foam down. Steps two and three can be combined with great skill and determination.

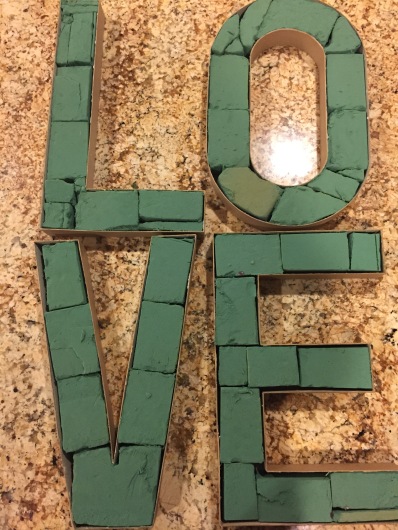
    Here is what the letters should look like with all the foam glued down.
    Here is what the letters should look like with all the foam glued down.
  4. Cut and place flowers as desired. Gluing stems is optional.

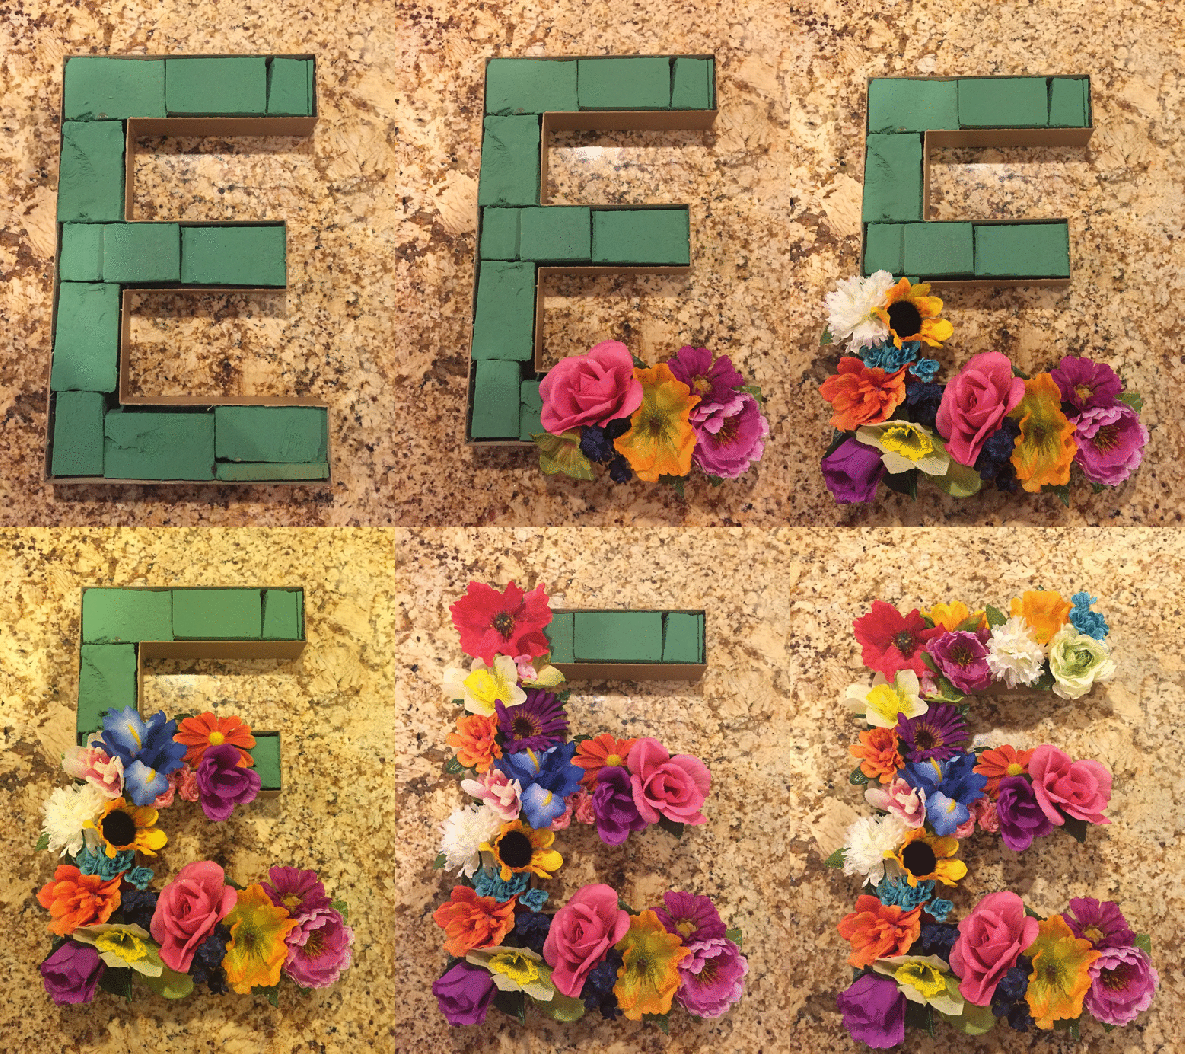
    Here is a step by step placement of the flowers on the letter
    Here is a step by step placement of the flowers on the letter “E” All photos taken by me!

Alternatively, steps one-four can be skipped and an order can be placed on etsy. This is not my etsy, but I like to leave options for those who are artistically challenged.

Happy crafting!

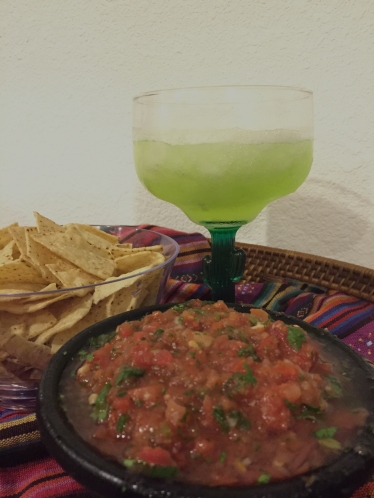
Cinco De Mayo Salsa!

Happy Cinco De Mayo everyone! I got a special request from a fellow blogger to make salsa.

ingredients
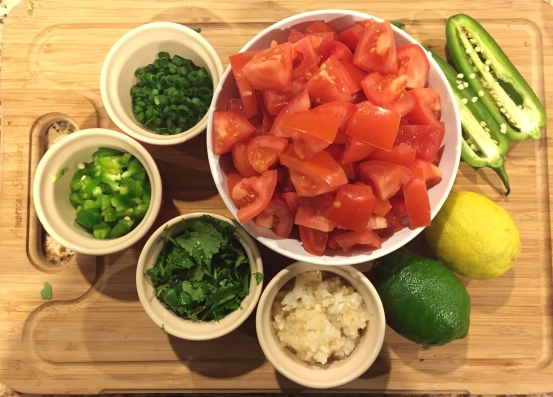
Beautiful, vibrant ingredients!

Ingredients:

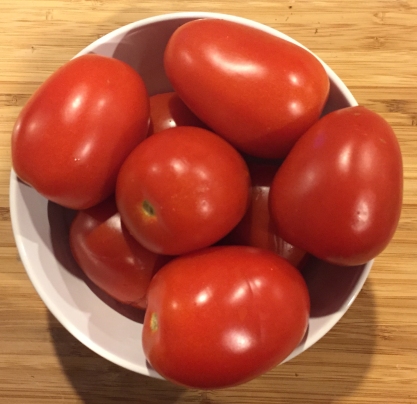
8 Roma tomatoes

tomatoes
I used Roma tomatoes because they were the ripest. This can be substituted just as long as you have about 6-8 cups worth. (I would discourage using grape tomatoes)

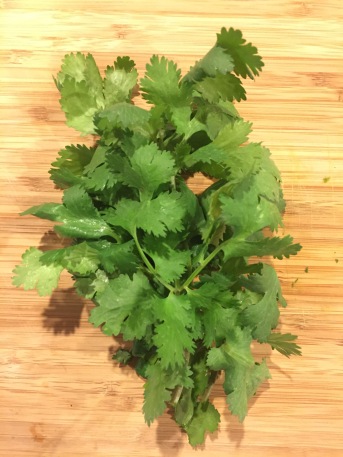
2/3 cup cilantro

Im a big fan of cilantro, so I ended up adding more during my taste test. Feel free to do the same!

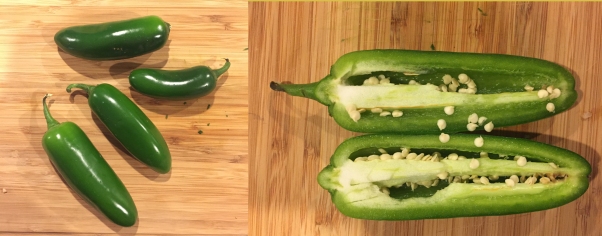
2-? Jalapeños

I used 2 (but I am kind of a wimp) this is really up to the chef, and I would encourage tasting before adding more than two.  Tip: If you want more heat throw all the seeds in.
I used 2 (but I am kind of a wimp) this is really up to the chef, and I would encourage tasting before adding more than two.
Tip: If you want more heat throw all the seeds in.

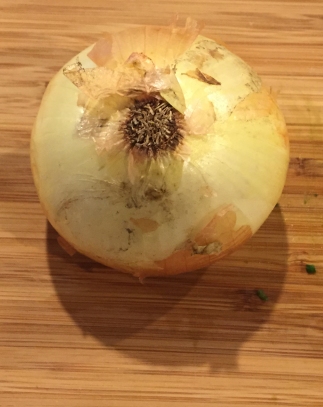
1/3 cup yellow onion

I combined the garlic and onion, and put them in the food processor before the final processing.
I combined the garlic and onion, in the food processor before the final processing.

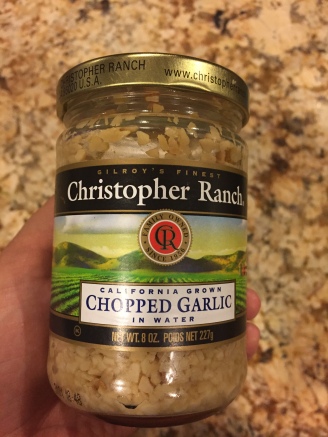
2-tablespoons (2-3 cloves) garlic

I am ALWAYS using garlic, so to save time I always having this in the fridge. I know, I am a cheater!
I am ALWAYS using garlic, so to save time I  have this in the fridge. I know, I am a cheater!

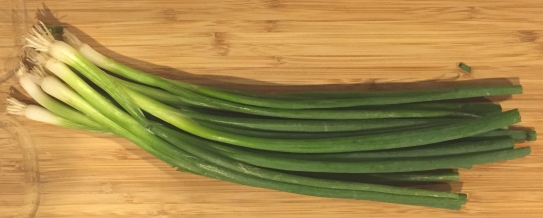
1/3 cup green onions

greenonion
You should chop this finely, and not add into the food processor/blender.

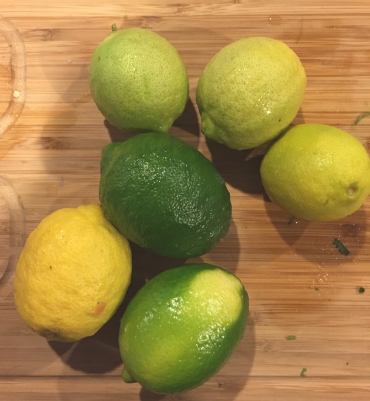
2oz lime juice

All but the really green lime I grew, so I was pretty excited to use them.
All but the really green lime are from my own tree, so I was pretty excited to use them.

Once everything is chopped and prepped, throw it into a blender or a food processor. If not everything fits, split up the ingredients, and once they are done blending/processing, put the batches into a bowl and mix together. You simply blend/process until you have the consistency you prefer. The ingredients added in the bowl (not blended/processed) are green onions and lime juice!

I am a huge advocate of adapting recipes, so if you hate green onions don't add them, if you like Serranos over Jalapenos use those. Go ahead and experiment!
I am a huge advocate of adapting recipes, so if you hate green onions don’t add them, if you like Serranos over Jalapeños use those. Go ahead, and experiment!  All photos taken by me.

Enjoy!!

Spring Cleaning

SClogo

Spring cleaning is a time-honored tradition in many cultures. Cleaning may seem like a daunting task, but it can be very therapeutic and cleansing.

I personally enjoy a good purge of my belongings. I go into the process with good intentions, but I always have a hard time getting rid of stuff.  I don’t want to be kicking myself later, so I save it—just in case.

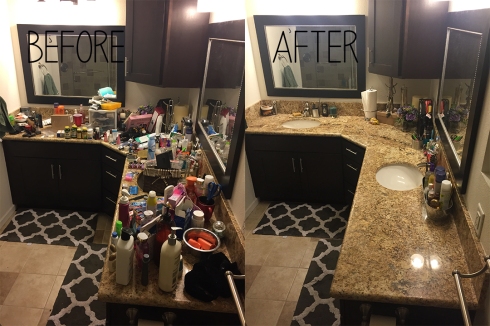
This year going into my Spring cleaning my main concern was my bathroom. I went in with an open mind and ready to make good use of my trashcan. My first step when I am doing a big clean is to take everything out, making a HUGE mess. This may sound crazy, but it gives me more clean-spiration.

My mom use to love this technique when I was a teenager... However, it really does push me to clean because if I don't it looks like I am living in a murder site.
My mom use to love this technique when I was a teenager… However, it really does push me to clean because if I don’t it looks like I am living in a murder site.

I am extremely fortunate to have an abundance of storage in my bathroom, but I was using the space so poorly. My main goal was to organize all of the drawers and counter space.

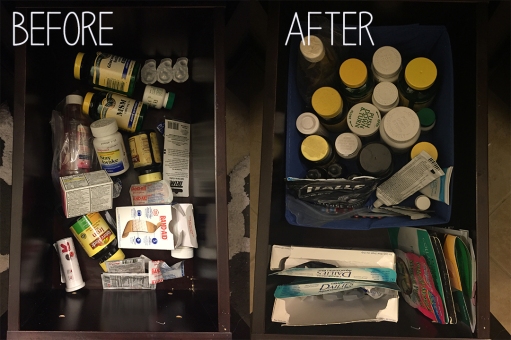
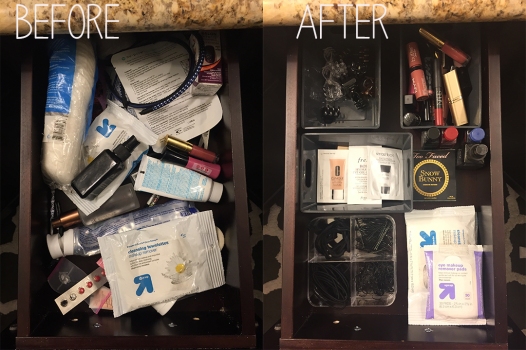
Before I had very few things in a large drawer, and now I have made much better use of the space.

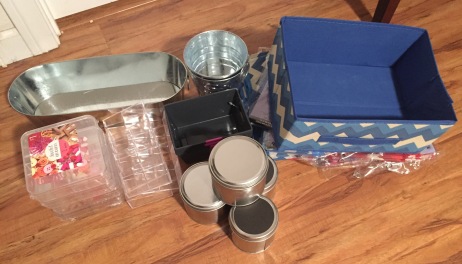
Before going into the cleaning I made a few stops to buy containers to help me get organized Obviously, I went to Target. Much like all of my target trips I was sucked into the Dollar Spot, and wouldn’t you know it they had so many things I never would’ve known I needed. It’s so funny how that always happens. About $20 later I had everything I needed, and more!

I did not use all of this stuff in my bathroom, but I plan on using the remaining stuff in other rooms.

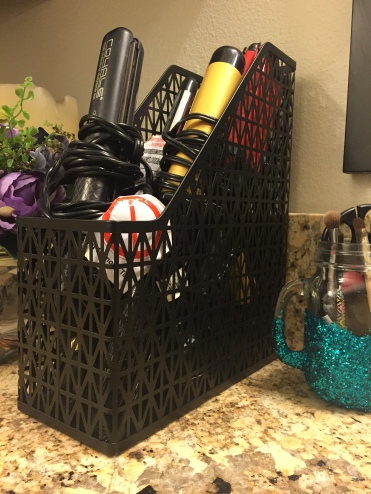
Additionally, before my trip to target I browsed Pinterest to see if there were any other clever tricks to optimize my organization. My favorite was using a magazine holder to store all of my hair tools.

IMG_6425
I typically use my straightener everyday, butt now I actually might remember I have other hair tools.

My drawers already had a flow, so I  had an idea of where I wanted stuff to go. Once I placed all my storage bins neatly into the drawers the organization was seamless. Additionally, I really pushed myself to throw away the make-up I don’t use, and that alone freed up a massive amount of space. I probably threw away at least 20 eye shadows from high school. I haven’t worn any of them in years, but it was the sentimental value that made me keep them. Which is when I realized that’s probably how all the people on hoarders get their start. As much as I enjoy reality TV, I don’t want to be the old lady holding on to the eye shadow she wore to prom 60 years later.

This is my main drawer that I would have to riffle through daily. Now I can actually see what I need.

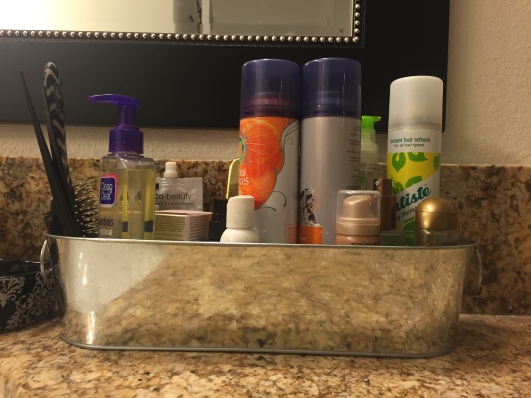
Finally. I had to decide what got to stay on my counter top. I know myself, and if I put stuff away that I use daily, I will either: never use it, or never put it where it belongs. Luckily, I found the perfect organizer for all the products it takes to make me presentable.

These products used to be scattered around my sink, and now here they are in one organized location.
These products used to be scattered around my sink, and now here they are in one organized location. All photos taken by me.

Not only does my bathroom look infinitely better, but also now my morning routine is less chaotic. Here is Martha Stewart’s  check list I will be using for the rest of my Spring Cleaning endeavor.

Happy Cleaning!

Perfect Summer Pie

FullSizeRender-3
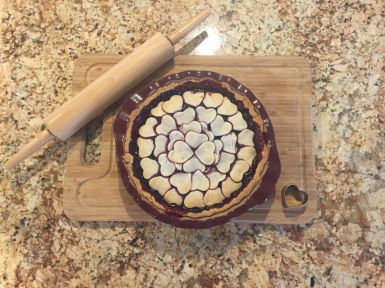
The Finished Product!

…………………………………….

…………………………………..   Now that it’s starting to heat up, barbecue season is upon us. This pie is a fun treat that everyone will love.

FullSizeRender-1
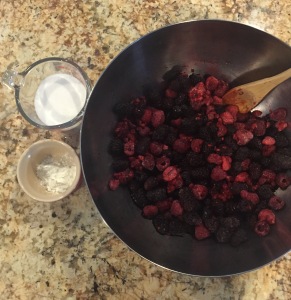
Six cups of berries, 1/2 cup of sugar, two teaspoons of corn starch.

……

……………………………….

…………………………………….

…………………………………….

…………………….

I made a mixed-berry pie, but I encourage you to choose your favorite pie filling.

FullSizeRender-2
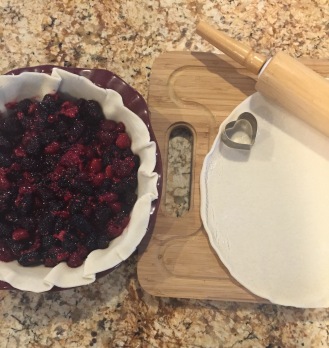
Ready to start the top crust design!

..

…………………………………..

…………………………………….

…………………………………….

…………………….

Additionally, experimenting with crust is an important part of the process. The crust I made has three ingredients: flour, water, and margarine (because I am not a fan of the taste of butter).

………………….

……………………………….

k6ufw
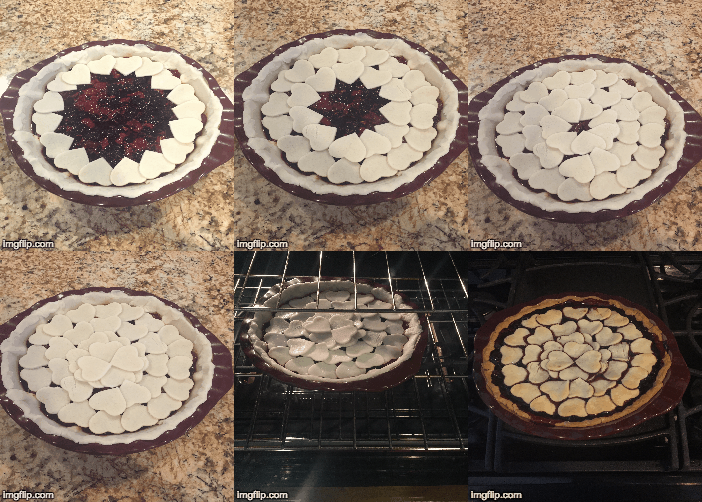
Here is a progression of the final steps! The pie was baked for 50 minutes at 350 degrees. All photos taken by me,

…………………………………….

……………

For this pie I chose to use hearts for the top crust design, but any shape can be used: stars for 4th of July, flowers, or circles—the possibilities are endless!

Holidaze

Holidays are always fun! People get excited about family traditions, good food, and quality time with loved ones. Or if you are like me you get excited about new outfits and new recipes. Of course, this week it’s all about Easter!

Our color coordinated family fight in between pictures.

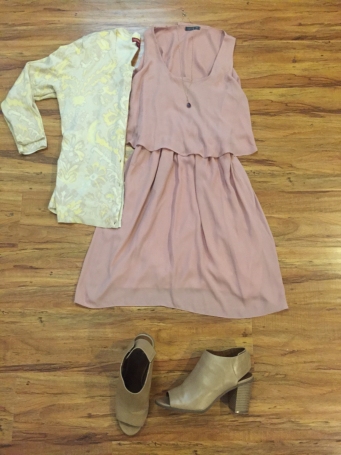
Let’s start with the most important thing: CLOTHES!! Easter is the time to break out your cutest pastel outfit. Of course when I say “break out,”  I mean go shopping because like most girls I never have anything to wear despite my closet full of clothes. My family and I get really into dressing up for the holidays. Typically for Easter we pick a color, and this year it was pale yellow.  I went rogue and starting shopping before my mom told me what the color was. I found a dress that was rose quartz which happens to be a trending color for spring. Luckily, I had a cute pale yellow cardigan, which allowed me to meet the requirements for our family color coordination. And last but certainly not least SHOES! I see shoes as an investment, and I get ridiculed a lot for buying shoes at inappropriate times. When I see shoes I know I’ll wear eventually I do not hesitate because there is no guarantee they will be there when I get back. Then I’ll never forgive myself every time I wear an outfit that those shoes would have been perfect for. I can’t tell you how many times I have patted myself on the back for buying these shoes.

Here is a closer look at my outfit!

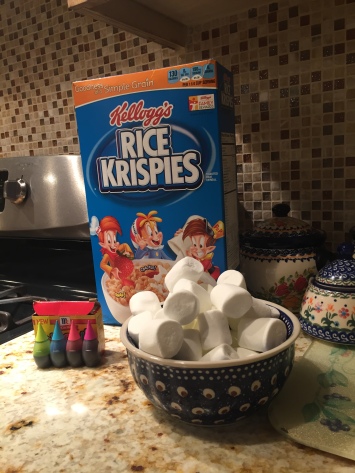
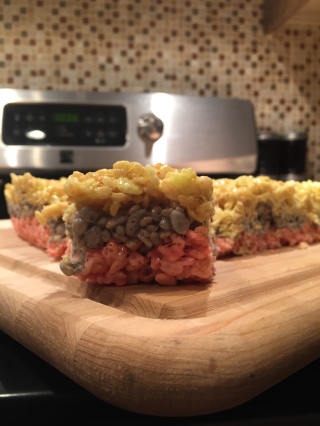
No holiday would be complete without trying out a new recipe from Pinterest. This year I saw some really cute Rice Krispy Treats. Even though this is not a new recipe for me, there are so many cute things you can do with Rice Krispy Treats that it never gets old! The actual recipe I found used Peeps instead of marshmallows, but I just used regular marshmallows and food coloring. For those who have never used food coloring when making Rice Krispy Treats I have a few tips, that will make your life a little bit easier.

I always suggest using prep bowls when making Rice Krispies because there is not a lot of time to waste between steps.
  1. Add the drops after the marshmallows are melted, but before you add the Rice Krispies.
  2. If you want pastel colors, just use fewer drops.
  3. If you want bright colors be careful of how much food coloring you add because if you add to much there is a chance that the mixture will seize. The end product will have a glassy consistency. (It will still be cute just not edible)
  4. Since you will be adding the cereal after you add the dye, just know that the color will be slightly more muted than what you may expect.
I ended up only doing three layers because you have to wash every thing between each step.

I hope every one had a wonderful Easter!